
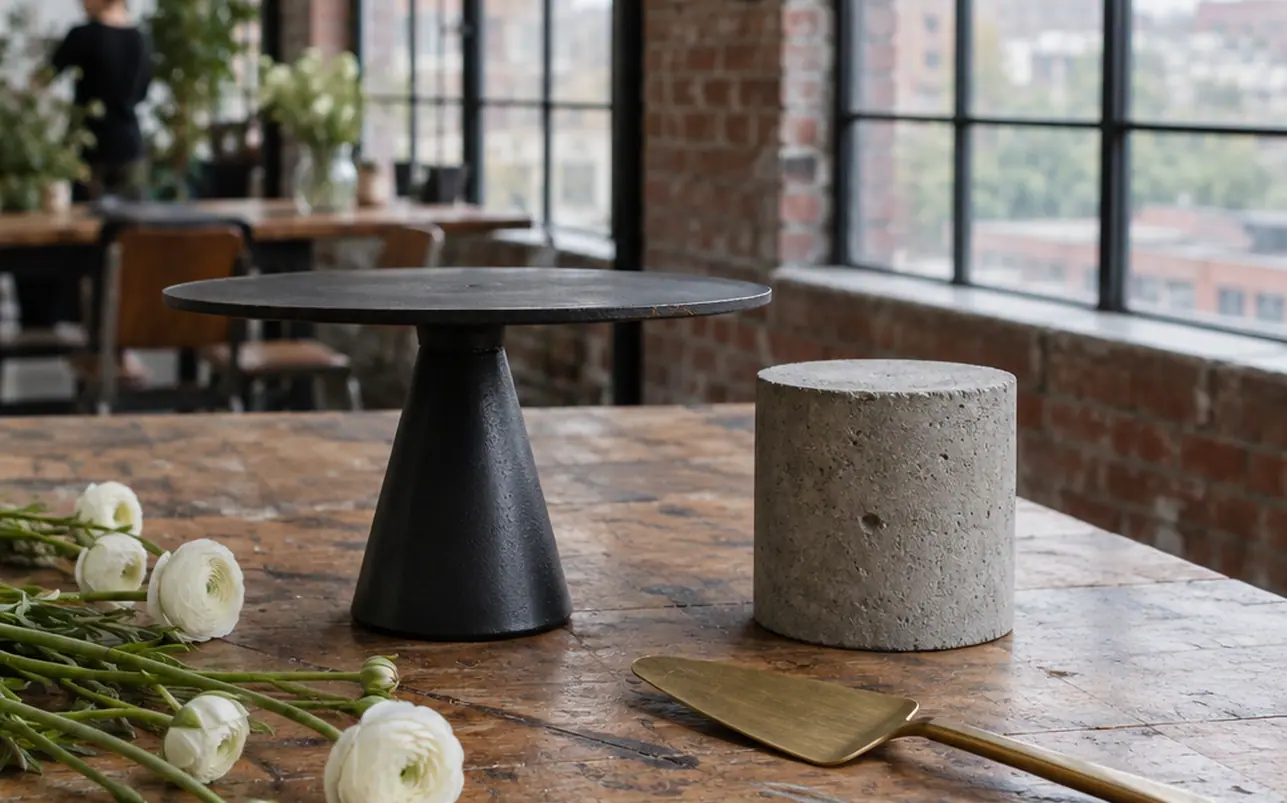
Choose the Cake Stand Before the Baker Draws the Tiers
Choose your wedding cake stand before finalizing the cake design. Its usable surface, foot geometry, and center-post connection set the foundation for the baker’s board size and stacking plan. A broad, rigid plateau gives the baker something dependable to build on; a narrow pedestal with a flexible plate creates a much tighter design brief.
Picture a fondant cake against exposed brick, with warm light catching its sharp edges. Beneath that finish sit filling, cake boards, and internal supports. All of that weight reaches the stand through the bottom board. Dowels support the tiers above them; they cannot strengthen a loose pedestal joint below the cake.
Decorative retail stands deserve particular scrutiny. A thin spun-metal plate can flex where it meets a threaded center rod. Set the cake off-center and the load gains leverage against that connection. During cutting, pressure near the edge can make an already loose assembly move.
Ask the baker for the expected finished weight, bottom-board dimensions, and proposed stacking arrangement. Send those details to the rental supplier and request a stand rated for the intended load. The rating should apply to the assembled stand, including its post and foot.
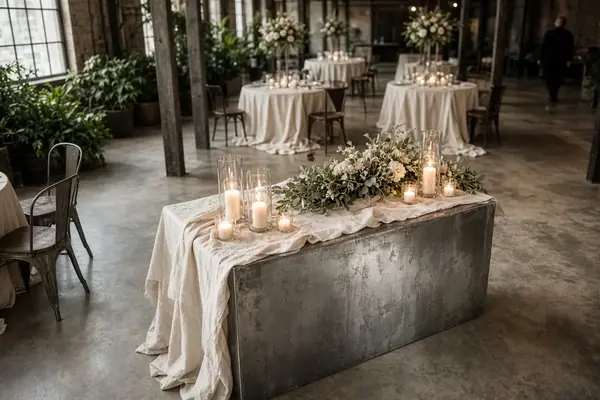
Warehouse rooms complicate the visual decision. High ceilings, concrete floors, and long brick walls can swallow a petite cake display. Create presence with a substantial table, a deliberate backdrop, or a cluster of separate cakes. Reserve tall, high-footed stands for lighter displays whose proportions suit that elevation.
Steel, Concrete, Wood, and Acrylic Behave Differently Under Cake
Judge each material in this order: load support, surface suitability, then appearance under the venue lighting. Matte black steel may disappear beautifully beneath white buttercream, while concrete gives the display a heavier architectural edge. Either still needs a flat top and a stable base.
- Welded steel: A substantial welded assembly can provide a rigid platform. Inspect the seams and plate flatness; a dark finish can hide an uneven joint.
- Cast concrete: Its mass creates visual weight, but the plateau must sit evenly. Bare concrete is porous and needs separation from food and grease.
- Kiln-dried hardwood: A thick slab brings warmth to an industrial room. Check for cupping, cracks, and rocking before treating it as a cake platform.
- Thick-gauge acrylic: Clear acrylic keeps the composition visually light. Thickness alone does not establish capacity; the span, joints, and supporting structure matter too.
Separate Raw Surfaces From the Cake
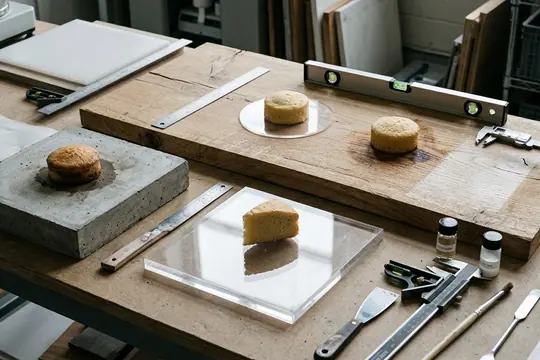
The FDA Food Code standards for food-contact surfaces call for safe, durable, nonabsorbent, and smooth materials for surfaces that actually contact the cake. A raw industrial finish needs a separate assessment before it becomes part of a serving setup.
Place an exact-fit, food-contact-suitable acrylic disk or food-grade parchment beneath the cake board when using porous concrete, galvanized zinc, unsealed brass, or oiled wood. Keep the barrier flat and fully supported. Parchment provides separation; it adds no structural stiffness.
A laser-cut disk should arrive with smooth edges, its protective film removed, and its surface cleaned for use. Confirm the material’s food-contact suitability rather than assuming every clear sheet qualifies. Grease can migrate through uncoated cardboard and stain porous rental pieces.
Buttercream and Bulbs
Keep heat-producing Edison bulbs away from the cake display. A barrier protects the surface beneath the board, while radiant heat can still soften buttercream. Check the lighting position with the fixtures switched on before settling the table location.
Measure the Flat Plateau, Then Fit the Cake Drum
The useful measurement runs across the flat interior of the stand. A decorative rim can make the advertised diameter look generous while leaving too little room for the baker’s board.
For a worked layout, start with a 12-inch bottom tier on a 14-inch drum. That leaves a 1-inch border around the cake. The stand needs at least a 14-inch flat plateau to support that drum completely. A 16-inch plateau gives the board additional space around its edge.
Now compare a lipped stand sold as 14 inches whose flat interior measures only 12.5–13 inches. The same drum bridges the raised rim instead of resting flat. Pressure from the cutting knife can then make the board pivot toward the loaded edge.
Let the Baker Approve the Board Fit
Bring the actual board, or a rigid template matching it, to the stand fitting. Set it down without forcing it past the rim. Press gently around the perimeter and check for rocking. Look underneath for gaps.
A stiff masonite board will not conform to a domed plate. A foil-wrapped drum also needs continuous, level support; compressing its edge against a decorative lip creates an unreliable seat. Keep decorative foil folds clear of the contact surface.
For a towering fondant cake, a wide, low-profile base keeps the silhouette grounded. A high-footed pedestal gives a single cutting cake presence without adding more tiers. I would settle the board fit before choosing either silhouette—flowers can soften a plain plateau far more easily than they can rescue a rocking one.
Build a Loft Cake Display With Staggered Heights
Three separate cutting cakes can create an ascending silhouette across a warehouse cake table. Imagine textured white buttercream, matte black iron, gray concrete, and a thick reclaimed-oak slab. Olive branches and white roses soften the hard edges without hiding the structure.
Begin with the largest cake low and forward. Place a smaller cake farther back on a broader concrete cube, then lift the smallest cake on an iron riser at the rear. Each cake board needs full support. Size the cube’s top to its board rather than letting the board overhang for the sake of the arrangement.
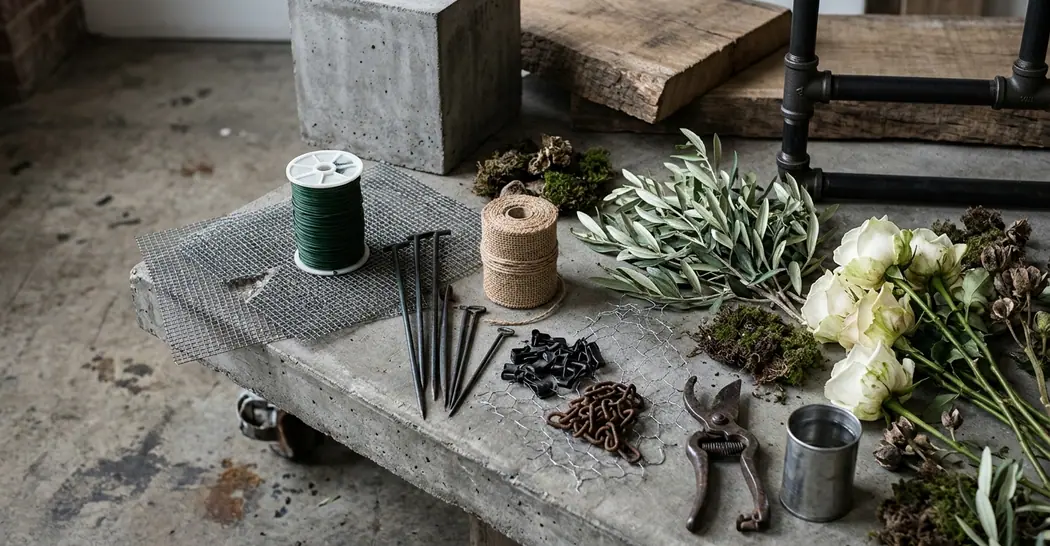
This composition spreads the visual footprint across the table. Check it from the guest entrance: the cakes should form a rising outline rather than disappear behind one another. Then check from the couple’s side, where the knife and server need an unobstructed approach.
Keep Floral Water Contained
Use small smoked-glass bud vases to bridge the gaps beneath taller risers. Keep stems, wire, and foliage away from the frosting and boards. Wet floral foam belongs in a watertight tray; damp mechanics can mark raw wood, and wet corten steel can leave rust runoff on linens.
Choose the table after laying out the stand footprints. A 36-inch round suits a restrained composition; a 48-inch round offers more room to arrange an asymmetric cluster. Test the complete layout with board templates before committing. Let linen drape away from the cutting position, place matte black flatware within reach, and keep tapers clear of frosting and reaching sleeves.
Inspect the Rental, Travel Separately, and Level the Table
Inspect a rented or vintage stand while there is still time to replace it. A beautiful patina can stay; movement at the center connection cannot.
- Check the assembly. Secure the threaded rod as intended, then press around the plate edge. Clicking threads, visible flex, or persistent rocking call for another stand.
- Examine the joints. Look closely at weld seams for cracks and corrosion. Confirm that the plateau is flat and the foot sits evenly.
- Pack cake and stand separately. Never transport a tiered cake on its pedestal. Follow the baker’s boxing and stacking plan, using a flat vehicle cargo surface with non-slip support.
- Level before unloading the cake. Position the table at the venue, check it in both directions, and secure any necessary table-leg shims. Then check the stand’s plateau.
- Add grip beneath the foot. A thin silicone mat between stand and table can reduce sliding. Trim it inside the footprint so it stays discreet, and check again for rocking.
Distressed floorboards and factory concrete deserve a deliberate leveling check, especially near drains. Finish that work before the cake arrives at the table. Keep the final board placement and tier assembly with the baker’s setup plan.
Is your chosen stand built to carry the physical weight of your baker’s finished recipe, or did it earn its place through an empty-table photo?




Write a Comment