
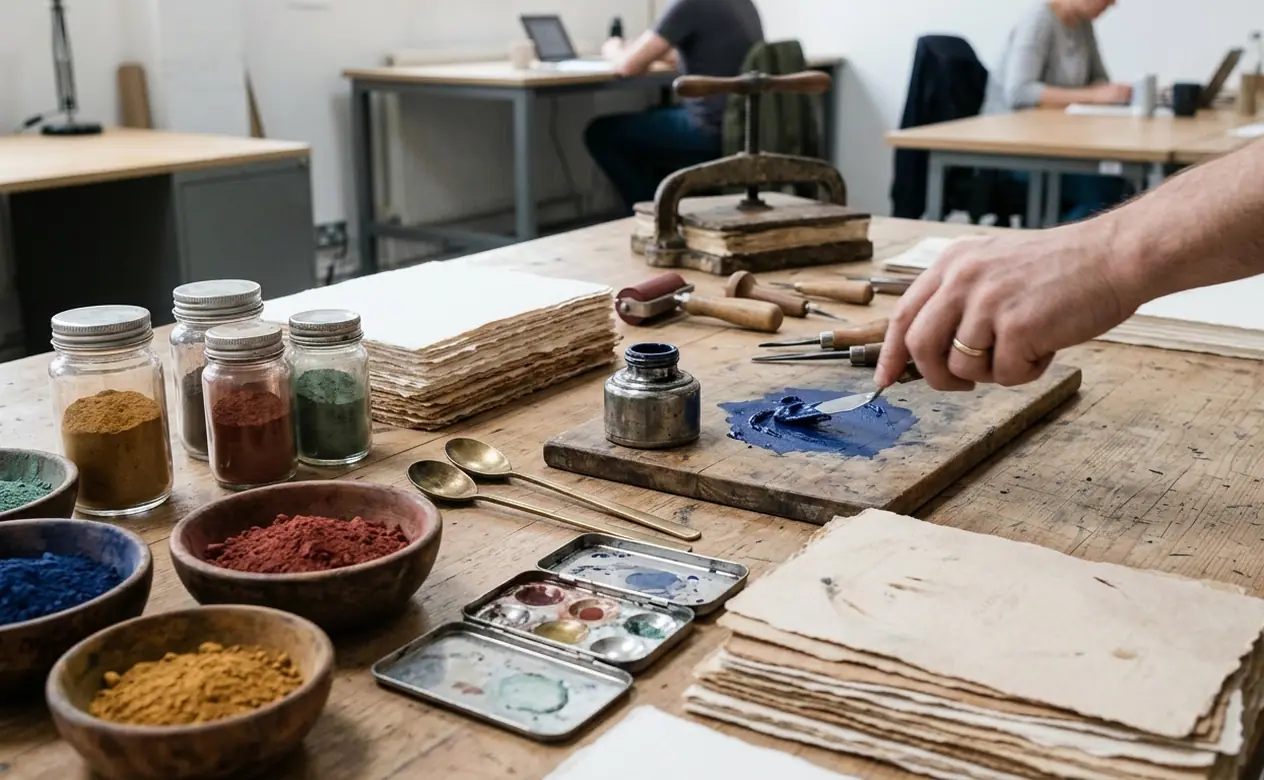
What Pigment Ink Does on Wedding Paper
Pigment ink is a surface-sitting ink formulated specifically to prevent bleeding from condensation when applied to paper fibers. That definition sets the working standard for every place card, envelope, and favor tag that follows.
The distinction became obvious during a July stationery run-through. Place cards lettered with a standard dye-based 0.5 mm fineliner sat beside chilled coupes on a bar. Once the glasses began sweating, names on the 110 lb, or 300 gsm, cotton rag feathered into soft grey halos. A water droplet could start visible spreading within about 4 to 10 seconds. Pigment-lettered samples held their line edges after the moisture was blotted away.
Sophie Miller, DIY Projects Editor at Chicago Factory, uses that condensation exposure as the baseline for professional-grade stationery. The practical trial is simple: set a chilled glass on a lettered scrap for 12 to 20 minutes at typical reception humidity, blot the paper, and inspect the strokes at an angle under raking light.
Surface Color Versus Fiber Color
Dye ink travels into a paper’s capillary network. On fluffy cotton stock, that movement can soften hairlines even before water reaches the sheet. Pigment ink deposits solid color particles closer to the surface, where a binder secures them as the ink cures.
Surface hold comes with a timing requirement. On unsized cotton rag, fresh pigment ink may transfer to a fingertip for approximately 45 to 90 seconds. A firm thumb press should leave nothing after 20 to 30 minutes. Smoother 80 lb text stock generally reaches that point in 8 to 12 minutes.
Condensation Gate
Test the exact ink and paper beside a sweating glass before producing the full place-card set. A crisp dry sample says little about its behavior at the bar.
Addressing Envelopes Without Visible Guide Marks
Formal envelope addressing reads best when every element is written in full: Street, Avenue, Boulevard, and Court, along with complete state names such as Illinois, Wisconsin, and Michigan. Keep an apartment or unit designation on the address line when the available width allows.
Light Pads for Pale Envelope Stock
An LED light pad provides a flat illuminated surface beneath the envelope. Print a guide sheet with a 6 to 8 mm x-height and a slant of somewhere around 52 to 55 degrees, place it on the pad, and align the envelope over it. The script shows comfortably through laid and cotton papers from 80 to 120 gsm.
The useful threshold sits near 150 gsm. Above that weight, the fibers block too much light for comfortable tracing. Repeatedly lifting the envelope to find a dim guideline slows the hand and introduces baseline drift.
Laser Baselines for Dark Paper
Dark or heavy stock calls for a projected line. Clamp a hardware laser level so its red beam falls 12 to 20 mm below the vertical center of the envelope face. Move each envelope to meet the beam, leaving room above it for a three- or four-line address block and keeping the lower postal area clear.
This approach leaves the paper nap untouched. That matters on ecru cotton envelopes, where erasing pencil guidelines can lift fibers and create a fuzzed strip that catches strongly in photographs.
For faux calligraphy, use a firm hard-tip monoline pen. Mark each downstroke, draw a parallel line 0.6 to 1.2 mm to its left, and fill the narrow space. The second pass takes roughly 90 to 150 seconds per envelope. A set of 100 outer envelopes can occupy 4 to 6 hours of table time once drying breaks are included, so I divide the work into short batches rather than rushing a full stack.
Clean Stamp Impressions on Cotton Rag
Stamp construction determines whether textured paper receives a crisp design or a faint rectangular halo. A wood-mounted deep-etch rubber stamp distributes hand pressure evenly while keeping the surrounding die shoulders away from the sheet. Relief of around 1.5 to 2.5 mm below the image surface is sufficient for firm pressing on 300 gsm rag.
A Straight-Down Stamping Sequence

- Place the cotton rag on a clean, stable surface with a slight amount of cushioning beneath it.
- Tap the ink pad onto the raised die. Pressing the die into the pad encourages ink to collect on the shoulders.
- Lower the stamp vertically and hold steady for 2 to 3 seconds.
- Lift straight up without rocking the mount.
- Leave the impression untouched until it reaches handling dry.
On heavily textured rag, a second ink load and re-press can deepen a pale impression, provided the sheet and stamp register in precisely the same position. Any shift creates an obvious double edge.
Choosing Ink for Light and Dark Stock
VersaFine pigment ink pads produce sharp linework on porous cotton paper. Expect the impression to remain open to smudging for about 60 to 120 seconds and to become handling dry in 10 to 20 minutes.
Brilliance ink is the more useful choice for opaque metallic stamping on dark cardstock. Metallic pigment can remain tacky for 20 to 40 minutes on a coated surface. A brief heat-gun pass helps, though the tool should keep moving to avoid curling the card.
Cotton Stamp Rule
Ink the raised artwork with light taps, then make one controlled vertical press. Extra force rarely repairs uneven loading.
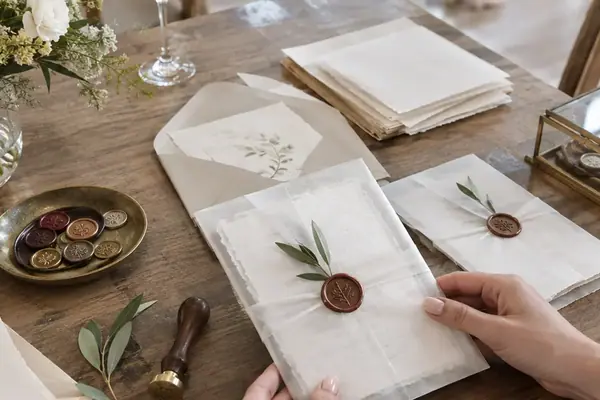
For wax details, 7 mm or 11 mm glue-gun sealing wax offers a predictable production rhythm. Run it through a low-temperature gun at roughly 250 to 280 degrees Fahrenheit, dispense a coin of wax, and hold a chilled brass die for 12 to 20 seconds. This method supports about 55 to 80 seals per hour, compared with something like 15 to 25 using a spoon-and-flame melt.
Heat-Setting Linen and Planning Leather Details
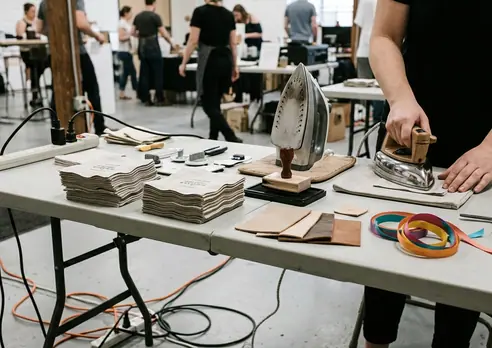
A stamped linen cocktail napkin has two production stages: the impression and the heat bond. VersaCraft fabric ink can look crisp after air-drying, yet the iron application is what permanently bonds the design into suitable linen fibers.
Setting Fabric Ink Into Linen
- Allow the stamped impression to air-dry for 20 to 30 minutes.
- Cover it with a clean, dry pressing cloth.
- Set a dry iron to the cotton range, roughly 380 to 400 degrees Fahrenheit, with steam switched off.
- Move the iron continuously over the stamped area for 25 to 40 seconds.
- Turn the linen over and repeat from the reverse side.
- Wait 24 to 48 hours before the first wash.
Pieces treated this way have retained legible linework through 3 to 5 gentle wash cycles in workshop follow-ups. Unset controls showed noticeable fading after a single wash.
Across Sophie Miller’s six years of teaching stationery and calligraphy workshops, student samples have shown the same longer-term pattern: surface pigment may appear sharper on the first day, while heat-bonded impressions are the ones that still read cleanly when brought back months later.
Heat-Bond Boundary
These settings suit natural cellulose and protein fibers, including cotton, linen, ramie, and silk at a reduced temperature. Poly-blends and stain-release or water-repellent finishes may resist bonding or glaze beneath the iron; reserve those pieces for single-use decor.
Leather That Changes With the Light
Vegetable-tanned leather in a 2 to 3 oz weight, about 0.8 to 1.2 mm, cuts and tools cleanly for escort tags or drink wraps. Its pale face gradually warms toward honey and then tan over some four to ten weeks of ambient light exposure.
Cut blanks for related events from one batch and store them together away from daylight. Otherwise, a rehearsal-dinner set prepared early may visibly differ from wedding-day pieces made several weeks later.
Oil-Based Signatures for a Drop-Top Shadow Box
Solvent ink is an alcohol- or solvent-based medium formulated for instant adherence on non-porous surfaces. That fast surface grip makes it useful for sealed birch, acrylic, and vinyl guest-book pieces that move from hand to hand within seconds.
Solvent and oil-based paint markers become smudge-resistant on those surfaces in roughly 15 to 45 seconds. Water-based pigment pens can remain wet for several minutes because the sealed face gives the colorant nowhere to absorb.
Match the Marker to the Token
- Use an extra-fine 0.7 to 1.0 mm tip for tokens under 40 mm across.
- Choose a 1.8 to 2.5 mm medium tip for tokens measuring 50 mm or more.
- Consider Uni Posca for compatible hard surfaces and Sharpie Oil-Based markers for vinyl or acrylic pieces.
- Use birch tokens 3 to 5 mm thick when they must pass through a standard shadow-box slot.
Shake a fresh oil-based paint marker for 20 to 30 seconds, listening for the mixing ball. Pump the nib on scrap 4 to 8 times until the color flows evenly. For a guest count of 120 to 160, keep 2 to 3 primed spares at the station so a dry nib never holds up the line.
Embossing a Record-Center Label
A vinyl-record guest display can carry a heat-embossed paper label at its center. Press the design in slow-drying pigment ink, cover it with embossing powder, and tap away the excess. Hold the heat tool 3 to 4 inches away for 20 to 40 seconds, stopping when the powder turns glossy. Apply heat only to the paper label; sustained heat can warp the record.
At the finished station, a guest uncaps a primed marker, writes a short name across a birch token, and slips it through the shadow-box slot in under 20 seconds. The signature is already dry to the touch when the token lands among the others.




Write a Comment