Budget-Friendly Luxury: Using Custom Stamps for Invites
The "Faux-Letterpress" Secret
In my years teaching calligraphy and paper-craft workshops, the number one thing couples tell me is that they want the feel of luxury stationery without the $2,000 price tag. My favorite hack? The humble rubber stamp.
When done correctly, a high-quality rubber stamp on thick cotton paper mimics the look of letterpress printing. It creates that beautiful, tactile experience that digital printing just can't match. Plus, it gives you total control over the ink color. Whether you want a moody industrial grey or a metallic finish, you can achieve it right at your kitchen table.
Materials Checklist
The difference between a "craft project" and "professional stationery" is the quality of your supplies. Don't skimp on the paper!
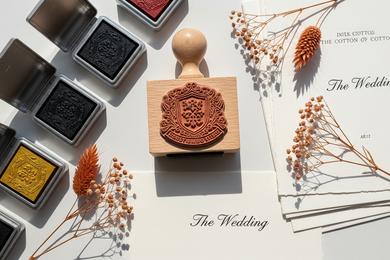
- The Stamp: Order a custom "deep etch" rubber stamp. Avoid the self-inking kind; you want a wood-mounted stamp so you can apply even pressure.
- The Paper: Look for 110lb or 220lb Cotton Rag paper. The texture of the cotton grabs the ink beautifully and prevents smudging.
- The Ink: For crisp lines, use a pigment ink pad (like VersaFine). Pigment ink sits on top of the paper rather than soaking in, which gives you a sharper, bolder color.
Technique: How to Get a Perfect Impression
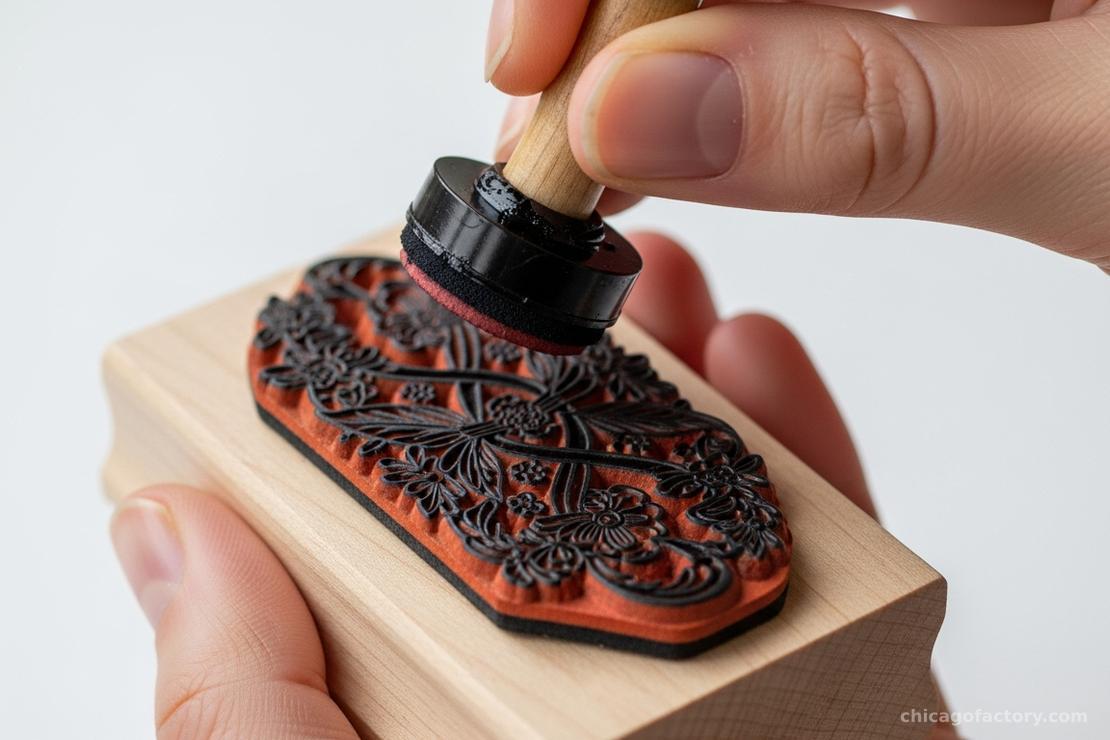
Getting a clean print takes a bit of practice. Here is the golden rule I teach in my workshops: Take the ink to the stamp, not the stamp to the ink.
Instead of mashing your stamp down into the pad (which gets ink everywhere), turn your stamp rubber-side up. Tap the ink pad gently all over the surface until it's evenly coated. This ensures you don't over-ink the edges, which causes those messy "halo" lines.
Once you've mastered the main invite, this technique is perfect for creating matching elements. You can stamp your return address on the flap (check out my tips on Envelope Addressing Hacks) or even create custom coasters for the reception using the method in our Napkins & Coasters Guide.
Elevating the Look: Wax Seals
To truly sell the "Industrial Romance" vibe, pair your stamped invite with a wax seal. It adds a 3D element that feels incredibly expensive.
You don't need to drip wax from a candle like a medieval scribe (unless you want to!). For bulk invites, I recommend using a glue gun with sealing wax sticks. It’s faster, cleaner, and less of a fire hazard. A copper or bronze seal looks stunning against black stamped text.
Don't Forget the Details
Once your invites are dry (give pigment ink at least an hour!), think about assembly. A vellum belly band or a simple chiffon ribbon ties the suite together.
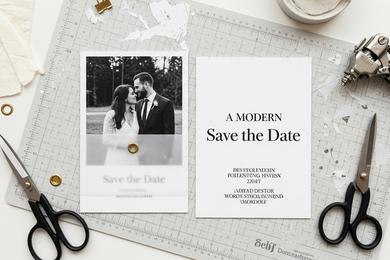
Remember, this same stamp can be reused for your Save the Dates. Consistency is key to branding your wedding from start to finish!
Frequently Asked Questions
You likely aren't applying even pressure. Stand up when you stamp! Using your body weight helps press the center of the stamp down firmly. Also, make sure you are stamping on a completely flat surface—a granite countertop or a sturdy desk is best.
Yes! But you need "opaque" white or metallic ink. Standard dye inks will disappear on black paper. Look for "Brilliance" or "Delicata" ink pads for metallic finishes that pop on dark cardstock.
A simple baby wipe (alcohol-free) works wonders for water-based inks. If you are using permanent ink, you might need a dedicated rubber stamp cleaner fluid. Always clean your stamp immediately after use to keep the lines crisp.
About the Author