DIY Save the Dates: A Step-by-Step Guide
First Impressions Count (But Don't Have to Cost a Fortune)
As a maker, I love Save the Dates because they are the low-stakes practice run for your wedding stationery. They are less formal than the invitation, which means you can have way more fun with materials!
If you're aiming for that "Industrial Romance" vibe, you don't need to order expensive custom letterpress just yet. Today, I'm going to teach you how to make a stunning, architectural Save the Date using one of my favorite combinations: Vellum and Brass Hardware. It’s minimal, it’s tactile, and it looks like it came from a high-end design studio.
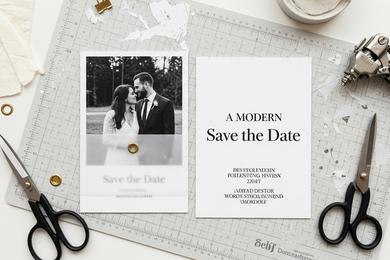
The Project: The Vellum Overlay
The concept is simple: A base layer (your photo or a textured card) covered by a translucent layer (vellum) with your typography, held together by a mechanical fastener. It’s that mix of soft paper and hard metal that nails our aesthetic.
What You'll Need:
- Heavy Cardstock or Photo Prints: I recommend a black and white photo for a moody, editorial look.
- Vellum Paper: 29lb or 40lb weight. You can buy this in packs at any craft store.
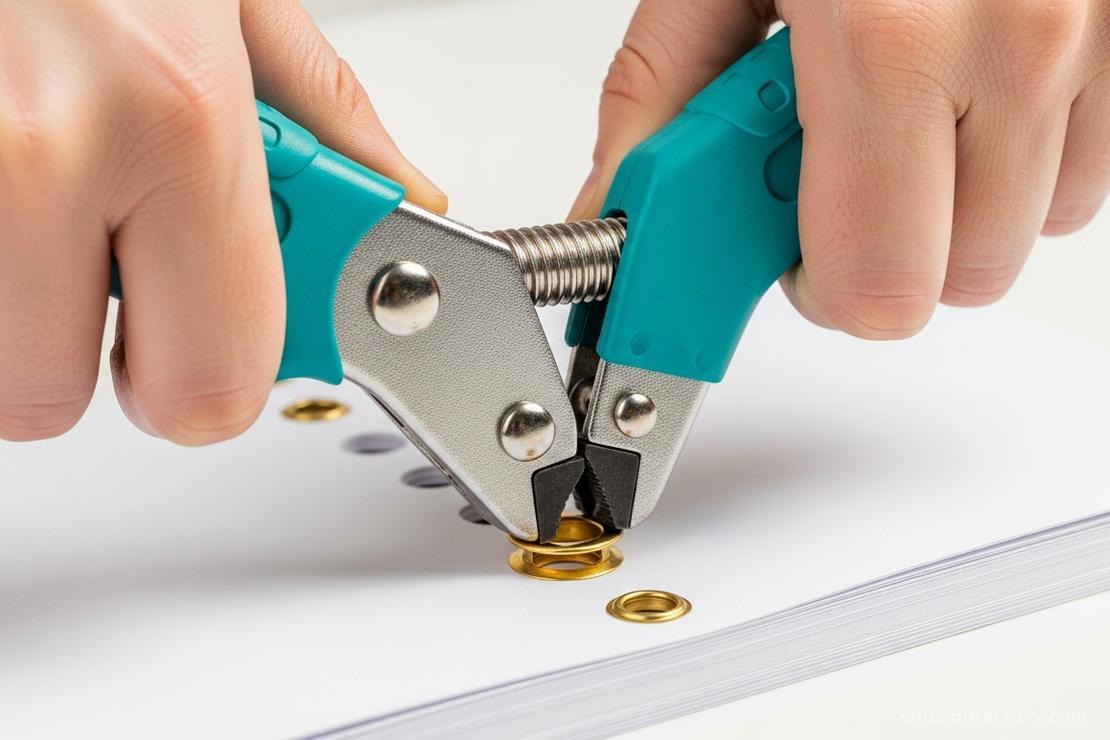
- Brass Eyelets (Grommets): Size 1/8" or 3/16".
- Setting Tool: A Crop-A-Dile or a standard eyelet setter and hammer.
- Paper Trimmer: For crisp, straight edges.
Step-by-Step Instructions
1. Design & Print
Design your text layer on your computer (Canva works great!). Keep it simple: "Save the Date," your names, the date, and the city. Print this directly onto the vellum sheets using a standard inkjet printer. Maker Tip: Let the vellum dry for at least 30 minutes! The ink sits on top of the plastic-like surface and will smudge if you touch it too soon.
2. The Cut
Trim your photo/backing card to size (A6 is a standard 4x6" size). Then, trim your vellum overlay to be slightly smaller (e.g., 3.5 x 5.5"). This allows the photo underneath to peek through, creating a lovely border effect.
3. The Industrial Fastener
This is where the magic happens. Stack your vellum on top of your photo. Punch a hole through both layers at the top center. Insert your brass eyelet and use your setting tool to crimp it shut. This mechanical detail transforms it from "homemade" to "hand-crafted."
Scaling Up
Making 100 of these? Create an assembly line! Cut everything first, punch holes second, set eyelets last. Grab a glass of wine and put on a podcast.
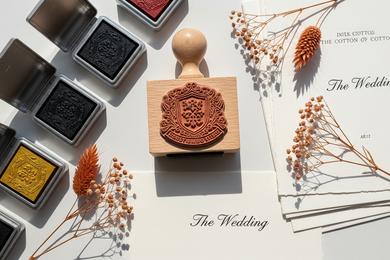
Once you're done, you can coordinate your envelopes using the same techniques we use for Wedding Invitation Stamps. A consistent look from the envelope to the card makes a huge impact.
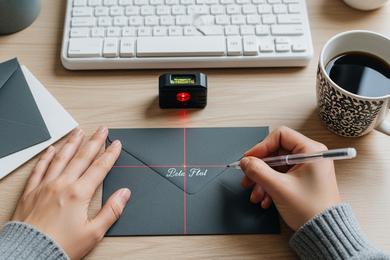
Addressing the Envelopes
Don't ruin your beautiful work with messy handwriting. If your calligraphy skills are rusty, check out my favorite Envelope Addressing Hacks for cheating your way to perfect lines.
Frequently Asked Questions
You can, but be careful. The high heat of a laser printer can sometimes curl thin vellum. I always prefer an inkjet printer on the "Best Photo" setting for the crispest black text.
For a local wedding, 6-8 months in advance is perfect. For a destination wedding, give your guests 9-12 months to book travel.
It might! The metal adds a tiny bump that can make the envelope "non-machinable" at the post office. Always take one finished ensemble to the post office to be weighed and checked before buying 100 stamps.
About the Author